Windows Terminal / node.js
I was rather enjoying my experience on the Windows Terminal after installing it from the Windows Store (though the jury is still out on the latter). However, I was finding it awkward as my node environment is generally accessed through the installer-generated "Node.js command prompt" item in the Start Menu.
Fortunately, Microsoft makes resolving this very simple - their application makes adding new options (terminals/configurations) a breeze.
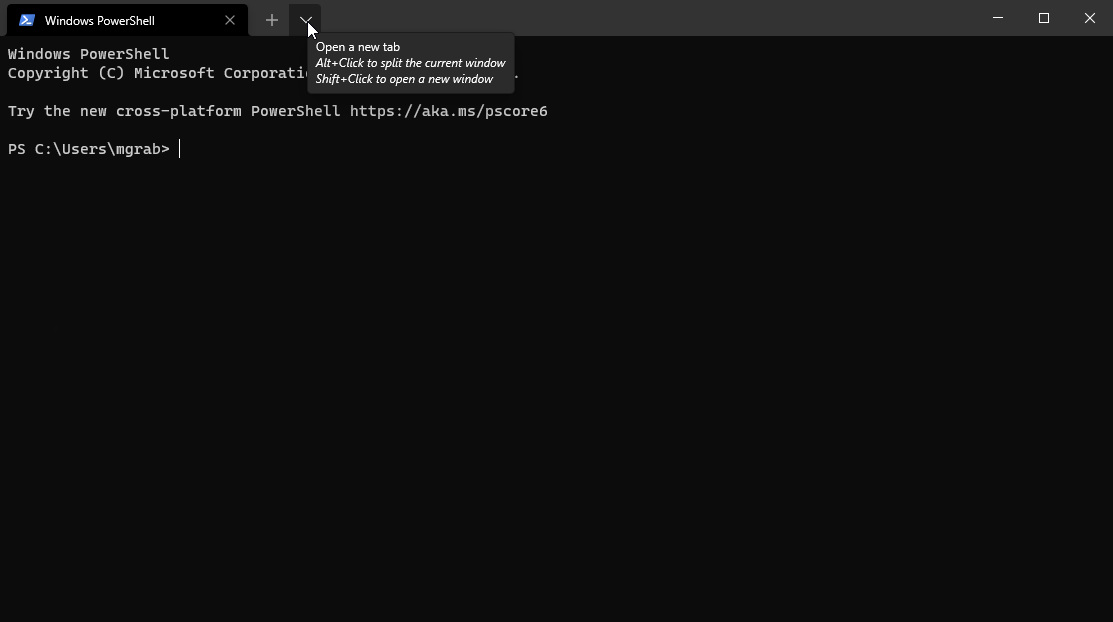
First, open up an instance of Windows Terminal. Click the down arrow button to the right of the tabs. Click Settings from the menu that opens (as noted in the shortcuts, Ctrl + . also works).
From there, click the Add a new profile item in the menu on the left.
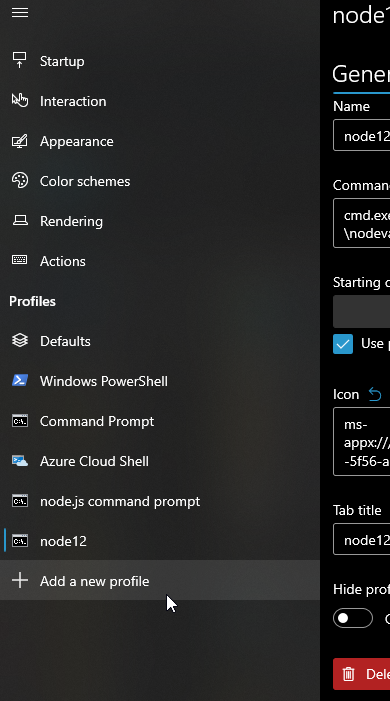
The simplest way is to copy an existing profile as shown here (I've selected the Command Prompt option because the standard node configuration installed a Command Prompt environment):
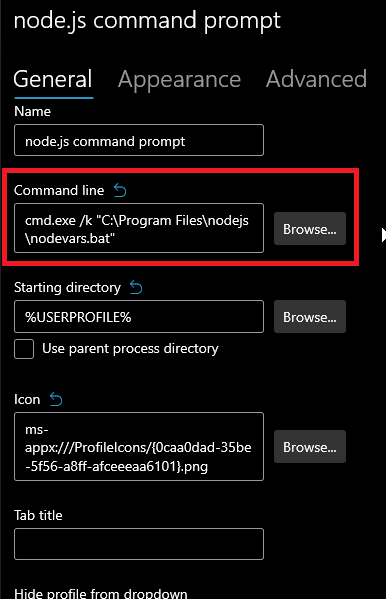
From there, just paste in in the portion of the command line that will configure the environment for node:
/k C:\Program Files\nodejs\nodevars.bat"
When you are done the configuration should appear as shown below (highlight added for emphasis):
Click Save in the bottom-right corner of the window to save the configuration. Test out the new configuration by starting your new terminal. It is working if it prints the node.js version at the top of the session as shown below (nodevars.bat contains the requisite commands).

Relevant Links: